Building Case Analyst · Part 3 of 8
A forensic image analyzer in Flutter: enhance, thermal & deepfake detection
TL;DR — The forensic analyzer in Case Analyst is built entirely from Flutter widgets — no shaders package, no native code. The "enhance", "thermal" and "night vision" filters are just ColorFilter.matrix 4×5 color matrices wrapped in a ColorFiltered widget; the sweeping scan line is a tiny CustomPainter; and the deepfake-detection minigame is pure data — hotspots in JSON that only reveal themselves when the right filter is active.
"Zoom in. Enhance." It's the most ridiculed line in every detective show — the magic button that conjures detail out of nothing. Case Analyst leans into the trope on purpose: you tap a suspicious region of an image, a scan line sweeps over it, and a hidden detail snaps into focus. Underneath the cyberpunk theatre, though, there's no machine-learning model and no image processing at all. It's a color matrix, a progress bar, and a hit-test. Here's how the whole forensic toolkit is wired together in pure Flutter.
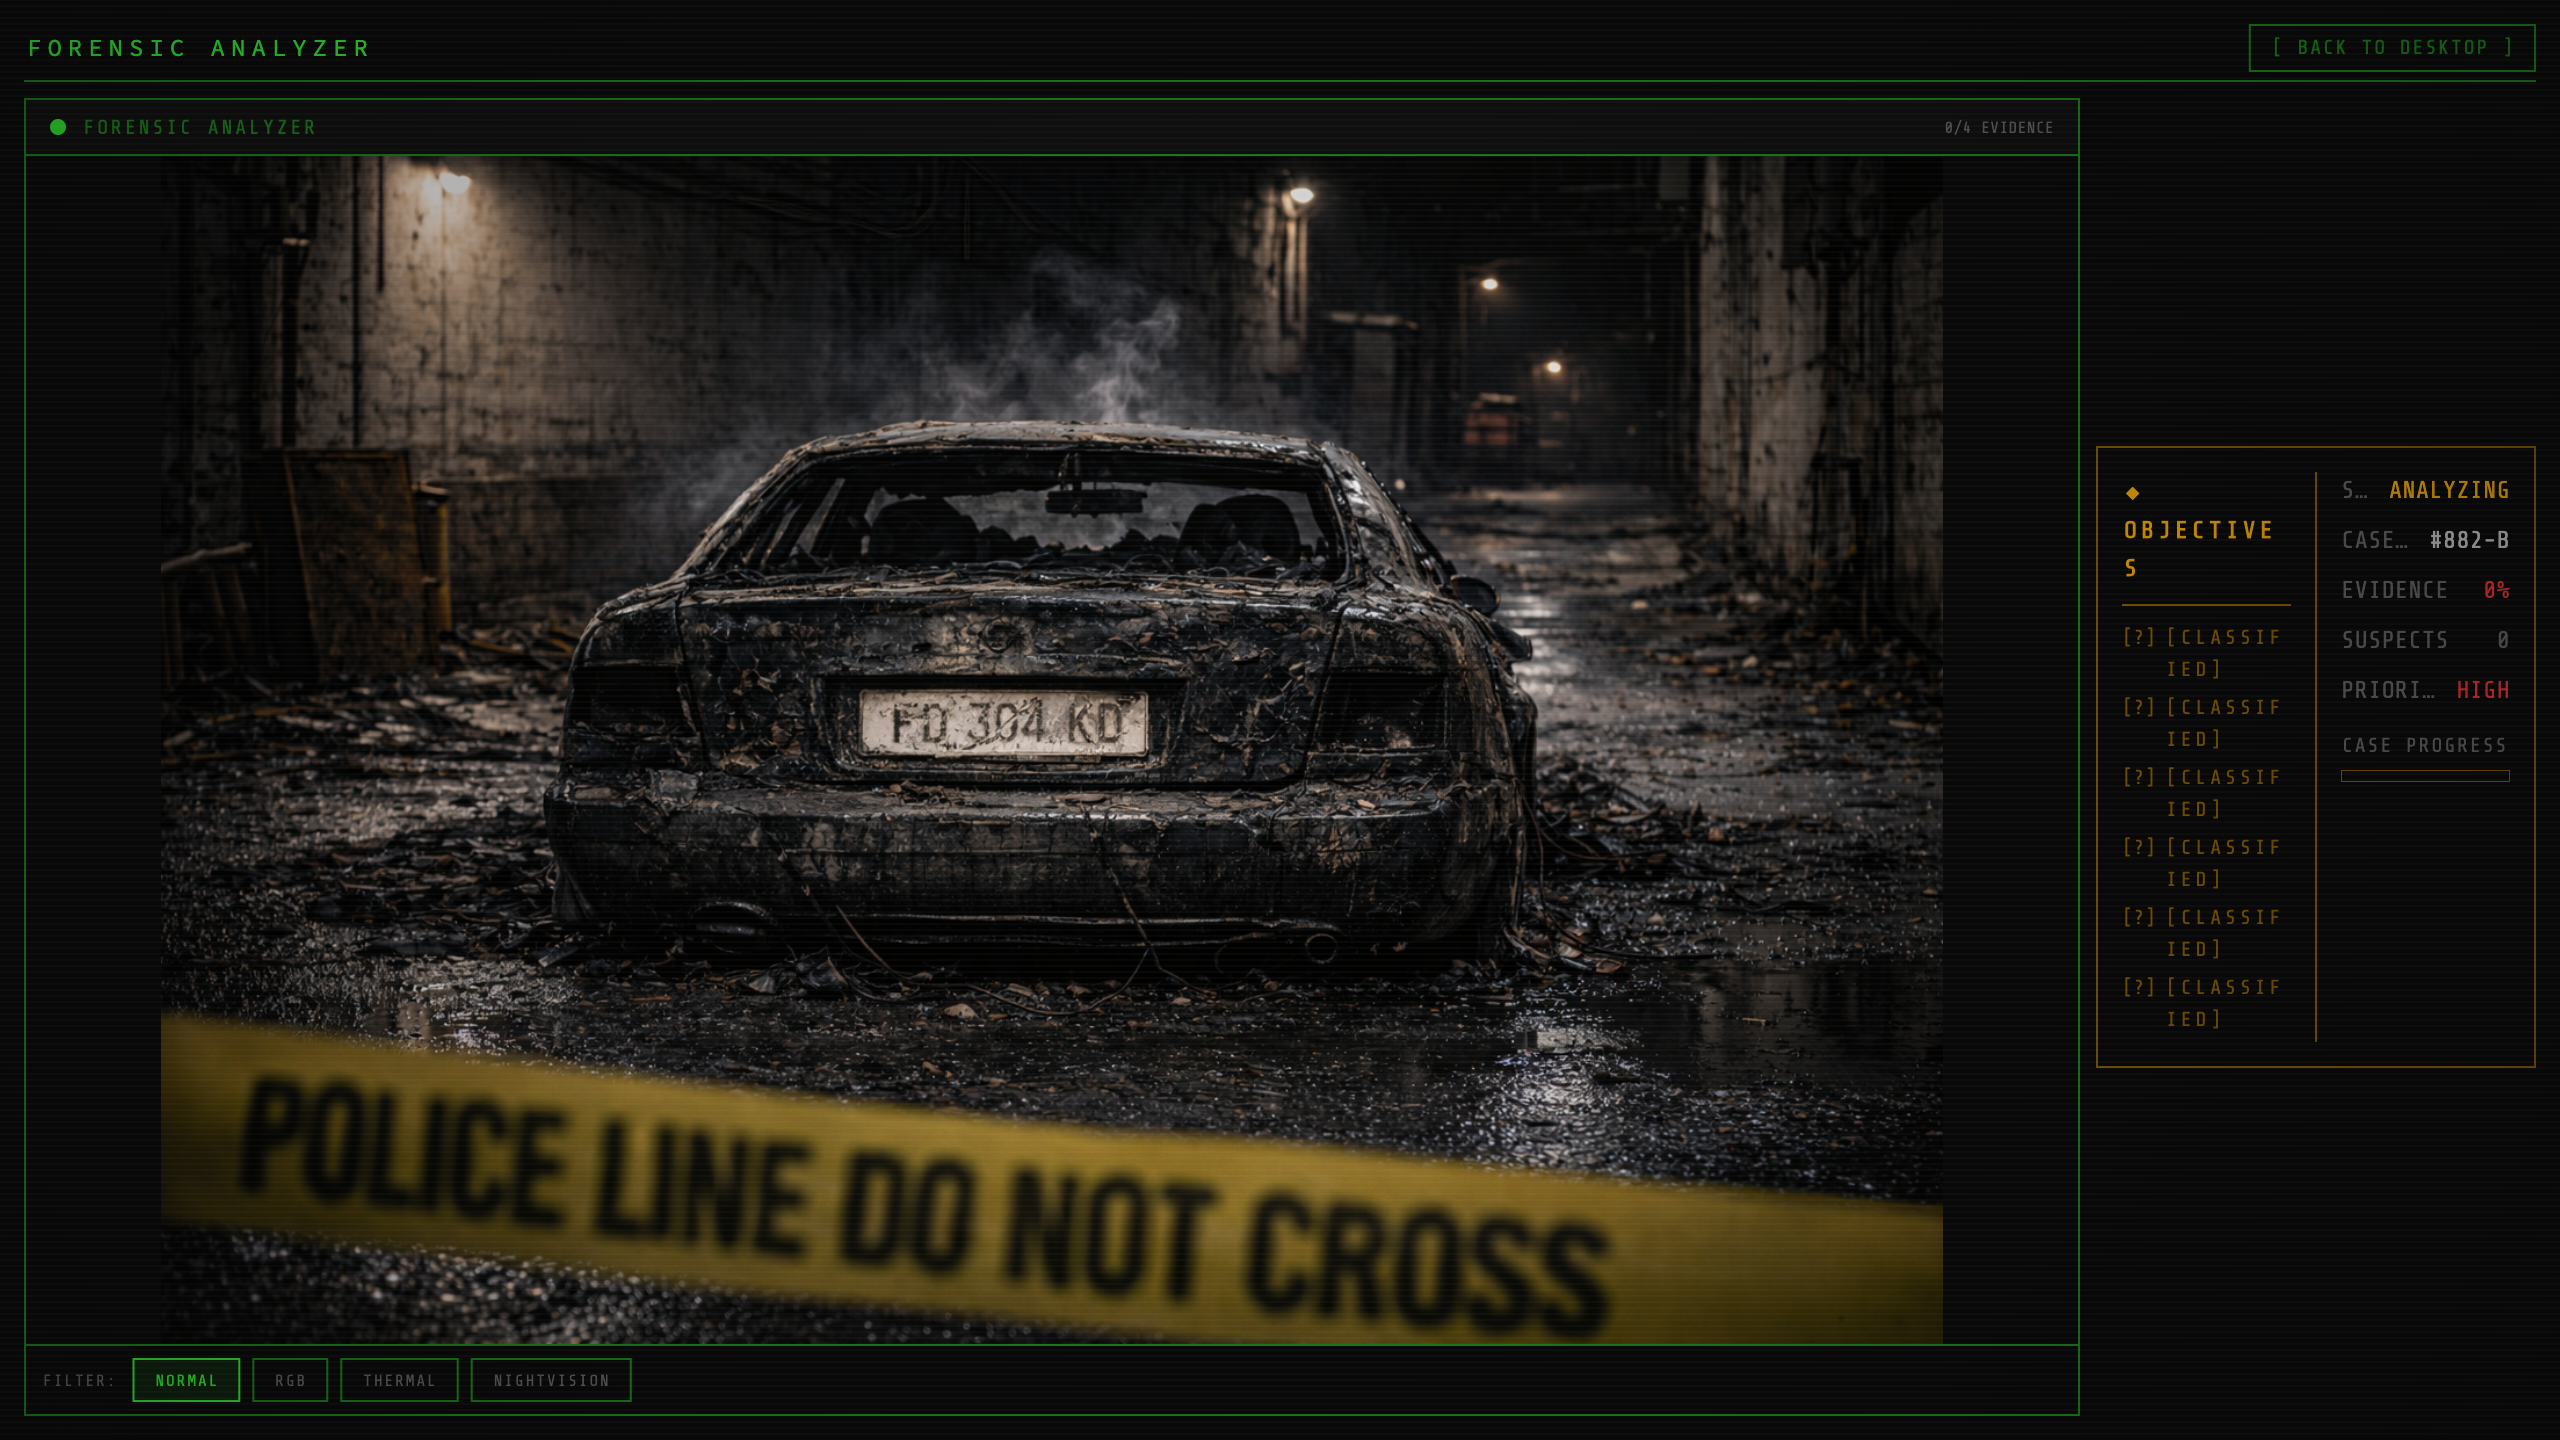
Filters are just color matrices
Flutter ships a feature that does 90% of the work for free: ColorFiltered, a widget that applies a ColorFilter to everything painted inside it. The most powerful flavour is ColorFilter.matrix, which takes a 20-element list describing a 4×5 matrix. Each output channel (R, G, B, A) is a weighted sum of the input channels plus a constant offset. That single primitive covers grayscale, sepia, channel swaps, contrast, tint — and, with the right numbers, a convincing "thermal camera" look.
The whole filter set lives in one method on the analyzer widget. There's no engine here — just a Dart switch returning a ColorFilter? (where null means "show the image untouched"):
ColorFilter? _buildColorFilter(AnalysisFilter filter) {
  return switch (filter) {
    AnalysisFilter.normal => null,
    AnalysisFilter.rgb => const ColorFilter.matrix(<double>[
        0.2, 0.8, 0,   0, 0,
        0,   0.2, 0.8, 0, 0,
        0.8, 0,   0.2, 0, 0,
        0,   0,   0,   1, 0,
      ]),
    AnalysisFilter.thermal => const ColorFilter.matrix(<double>[
        1.5, 0,   0,   0, -40,
        0,   0.3, 0,   0,  30,
        0,   0,   0.1, 0,  80,
        0,   0,   0,   1,   0,
      ]),
    AnalysisFilter.nightvision => const ColorFilter.matrix(<double>[
        0,   0,   0,   0,  0,
        0.4, 0.8, 0.2, 0, 15,
        0,   0,   0,   0,  0,
        0,   0,   0,   1,  0,
      ]),
  };
}
I've laid the lists out 5-per-row to make the matrix readable — in the source it's a flat <double>[…], which is what ColorFilter.matrix actually expects. Reading each block top to bottom:
- thermal blows out the red channel (
1.5×R − 40), crushes green to a dim0.3, and pins blue near-constant at80. Bright/warm areas go orange-red while cold backgrounds collapse to a flat blue — the classic heat-map readout. - nightvision zeroes the red output entirely and routes everything into green (
0.4R + 0.8G + 0.2B + 15), giving the monochrome-green look of an image intensifier. - rgb rotates the channels (red picks up mostly green, blue picks up mostly red) to expose chromatic seams — the cue the game uses for "this region was tampered with".
The last row is always 0,0,0,1,0 so alpha passes through untouched. The fifth column is the per-channel offset (out of 255). That's the entire "image processing pipeline": three const matrices (normal returns null for no filter). Because they're const, Flutter can canonicalize them, and the filter is applied by Skia/Impeller on the GPU rather than per-pixel in Dart.
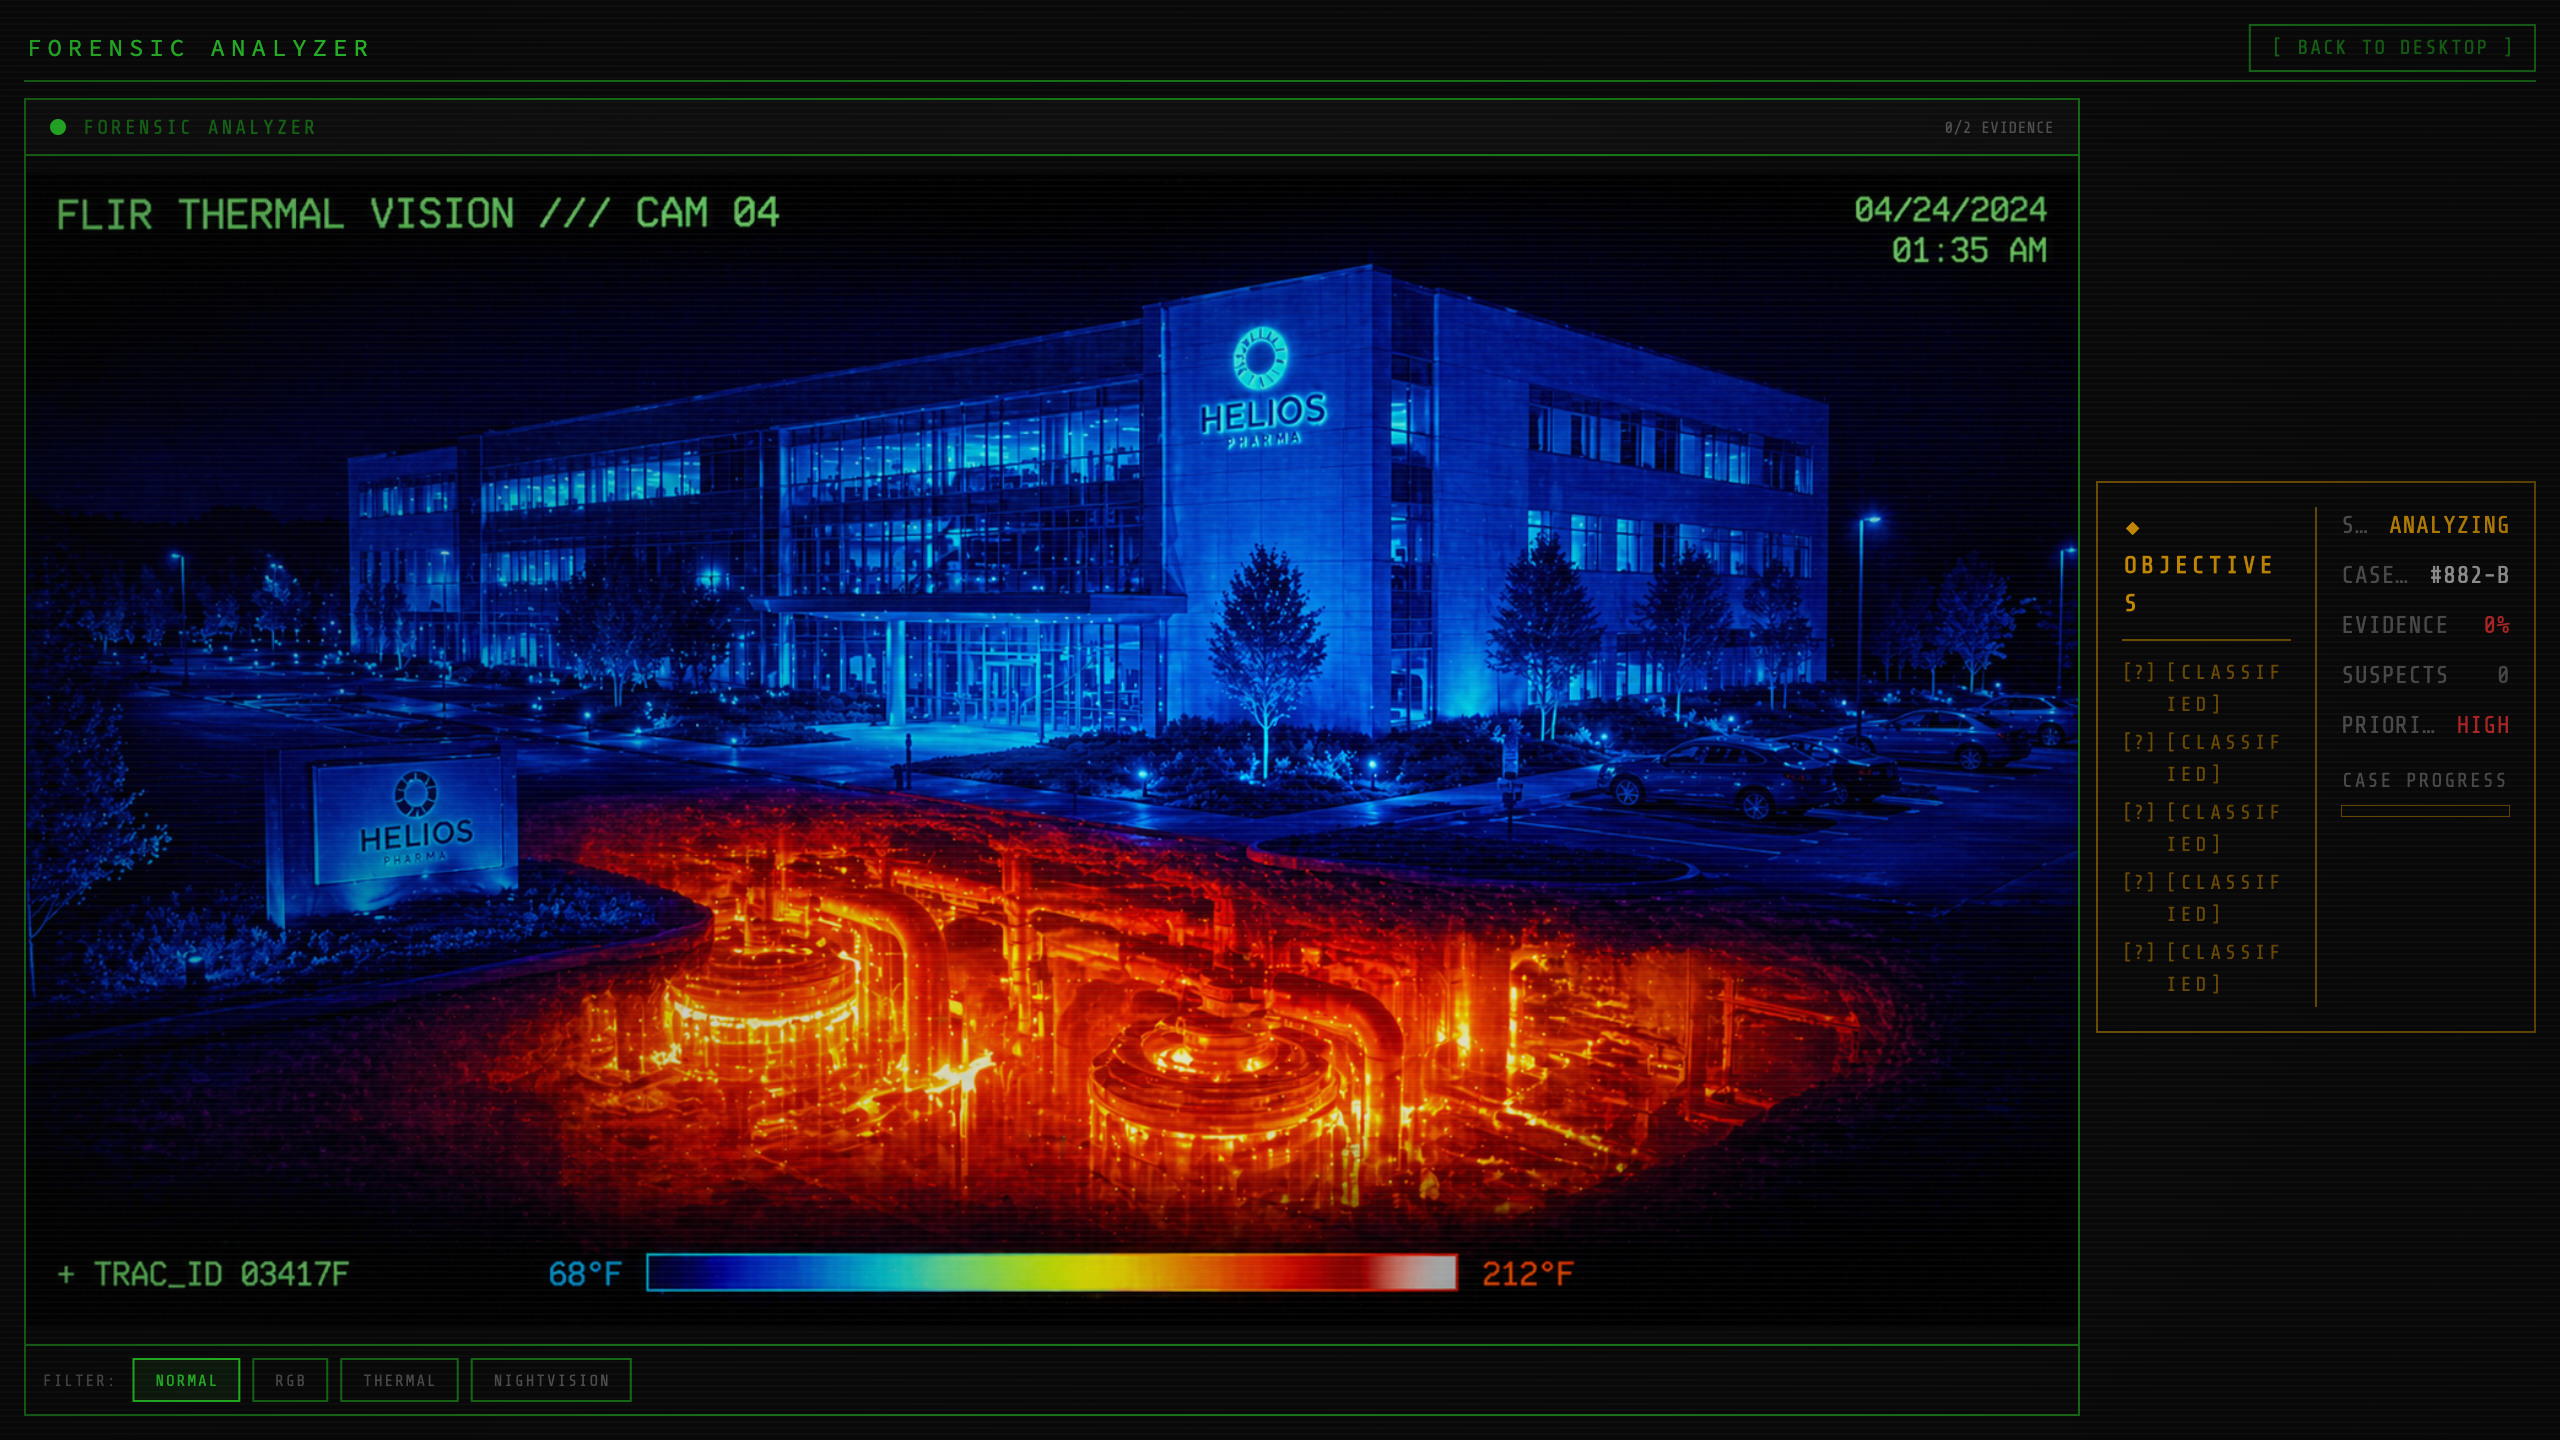
thermal matrix active. No second asset, no native plugin — the source bitmap is unchanged; only the GPU color matrix differs.Wiring the filter into the view
The active filter is one field in the Riverpod state (AnalysisFilter activeFilter), flipped by the filter bar buttons. In build I turn it into a ColorFilter? once, then wrap the image in ColorFiltered:
final colorFilter = _buildColorFilter(forensicState.activeFilter);

// ...inside the image viewer:
ColorFiltered(
  colorFilter: colorFilter ??
      const ColorFilter.mode(Colors.transparent, BlendMode.dst),
  child: _buildForensicImage(forensicState.imageUrl, monoStyle, l10n),
)
One gotcha worth flagging: ColorFiltered.colorFilter is non-nullable, but my normal case returns null. The idiomatic no-op is ColorFilter.mode(Colors.transparent, BlendMode.dst) — BlendMode.dst means "keep the destination, ignore the source colour", so the image renders exactly as-is. That's cleaner than conditionally swapping the widget tree, which would throw away the RenderObject and re-decode the image every time you toggle a filter.
"Enhance": a progress bar and a painted scan line
Tapping an undiscovered hotspot kicks off the enhance animation. There's no actual upscaling — the "reveal" is narrative, driven by the state machine in ForensicNotifier.enhanceHotspot. It marks the hotspot as enhancing, then ticks a progress value from 0 to 1 over two seconds (20 steps × 100 ms), and finally flips the hotspot to discovered and fires an EvidenceDiscovered event on the game's event bus:
Future<void> enhanceHotspot(String hotspotId) async {
  final index = state.hotspots.indexWhere((h) => h.id == hotspotId);
  if (index == -1) return;
  final hotspot = state.hotspots[index];
  if (hotspot.discovered || state.isEnhancing) return;

  state = state.copyWith(
    enhancingHotspotId: () => hotspotId,
    enhanceProgress: 0.0,
  );

  for (int i = 1; i <= 20; i++) {
    await Future.delayed(const Duration(milliseconds: 100));
    if (_disposed) return;             // guard: user left the screen
    state = state.copyWith(enhanceProgress: i / 20);
  }

  final updated = List<Hotspot>.from(state.hotspots);
  updated[index] = hotspot.copyWith(discovered: true);
  state = state.copyWith(
    hotspots: updated,
    enhancingHotspotId: () => null,
    enhanceProgress: 0.0,
  );
  // ...fires EvidenceDiscovered (or defers it if there's a popup detail)
}
The _disposed guard matters more than it looks. This loop awaits across 20 frames; if the player closes the analyzer mid-scan, the notifier is torn down and writing to state afterwards would throw. The flag is set in an onDispose callback and checked on every tick. (Note enhancingHotspotId uses the String? Function()? "wrapped setter" trick in copyWith so it can be explicitly set back to null — a plain nullable parameter can't distinguish "set to null" from "leave unchanged".)
The visible scan line that sweeps down during enhance is a CustomPainter. It draws a soft horizontal gradient band plus a crisp 1px line, both positioned by progress:
class _ScanLinePainter extends CustomPainter {
  final double progress;
  _ScanLinePainter({required this.progress});

  @override
  void paint(Canvas canvas, Size size) {
    final y = size.height * progress;
    final paint = Paint()
      ..shader = LinearGradient(
        begin: Alignment.topCenter,
        end: Alignment.bottomCenter,
        colors: [
          Colors.transparent,
          AppColors.phosphorGreen.withValues(alpha: 0.15),
          AppColors.phosphorGreen.withValues(alpha: 0.3),
          AppColors.phosphorGreen.withValues(alpha: 0.15),
          Colors.transparent,
        ],
      ).createShader(Rect.fromLTWH(0, y - 20, size.width, 40));
    canvas.drawRect(Rect.fromLTWH(0, y - 20, size.width, 40), paint);

    final linePaint = Paint()
      ..color = AppColors.phosphorGreen.withValues(alpha: 0.6)
      ..strokeWidth = 1;
    canvas.drawLine(Offset(0, y), Offset(size.width, y), linePaint);
  }

  @override
  bool shouldRepaint(covariant _ScanLinePainter oldDelegate) =>
      oldDelegate.progress != progress;
}
The shouldRepaint comparing only progress keeps it cheap: the painter is rebuilt every state tick, but only actually repaints when the band needs to move. The whole effect is wrapped in an IgnorePointer and laid over the image with Positioned.fill, so it never eats hotspot taps.
Hotspots: hit-testing on a BoxFit.contain image
A hotspot is a normalized coordinate — x and y in the 0.0–1.0 range — plus a tap radius and the payload it reveals. Storing positions as fractions instead of pixels is what lets the same authored data work on a phone and a 27" monitor. The catch is that the image is rendered with BoxFit.contain, so it's letterboxed inside its container and I have to map fractions onto the actual drawn rect, not the container. I do that in a LayoutBuilder, computing the fitted rect from the image's natural aspect ratio:
if (imageAspect > containerAspect) {
  imageW = containerW;
  imageH = containerW / imageAspect;
  imageOffsetX = 0;
  imageOffsetY = (containerH - imageH) / 2;   // letterbox top & bottom
} else {
  imageH = containerH;
  imageW = containerH * imageAspect;
  imageOffsetX = (containerW - imageW) / 2;    // pillarbox left & right
  imageOffsetY = 0;
}

// ...then each marker:
Positioned(
  left: imageOffsetX + hotspot.x * imageW - hotspot.radius,
  top:  imageOffsetY + hotspot.y * imageH - hotspot.radius,
  child: _HotspotMarker(/* ... */),
)
An undiscovered hotspot is, deliberately, an invisible tap target — a transparent ColoredBox sized to the radius. You discover evidence by actually exploring the image, not by hunting for glowing dots. Once discovered it becomes a small phosphor-green check ring. The exception is the deepfake mechanic, below, where the filter itself is the hint.
The deepfake minigame is all data
The marquee forensic moment in the game is a deepfake hunt: a comparison frame from a forged "warrant video", where you have to find the GAN artifacts that prove it was synthesized. What makes it work isn't code I wrote per-mission — it's two fields on the generic Hotspot model, fed from mission JSON.
The first is visibleOnFilter. A hotspot can declare that it only matters under a specific analysis filter; when the player switches to that filter, the marker pulses an amber ring as a cue. Here's the artifact hotspot straight from the mission file:
{
  "id": "facial_inconsistency",
  "x": 0.73, "y": 0.58,
  "type": "anomaly",
  "visibleOnFilter": "rgb",
  "sourceImage": "assets/missions/panopticon/images/deepfake_comparison.png",
  "label": { "en": "GAN ARTIFACT" },
  "revealedInfo": {
    "en": "Jaw contour mismatch — GAN generation artifact. Hairline
           edge flickering confirmed. This face was synthesized."
  },
  "evidenceGain": 25,
  "terminalMessage": {
    "en": "FORENSIC [RGB]: GAN artifact confirmed ... Probability: 97.3%.
           Deepfake verified. Clear the warrant: spoof_id nova_clear"
  },
  "unlockCommands": ["spoof_id"]
}
So the "deepfake detector" is: switch to the RGB filter (which exposes the chromatic seams via that channel-rotation matrix), notice two hotspots start pulsing, enhance them, and the terminal hands you the command to clear the framed agent's warrant. The detection is theatre; the investigation — pick the right tool, find the tell, act on it — is the actual gameplay.
The pulse cue is driven entirely by comparing the hotspot's declared filter against the live one. In the marker widget:
bool get _shouldPulse =>
    !widget.hotspot.discovered &&
    !widget.isEnhancing &&
    widget.hotspot.visibleOnFilter != null &&
    widget.hotspot.visibleOnFilter == widget.activeFilter;
When _shouldPulse flips true I start a repeating AnimationController (1.4s, reversing) that drives the amber ring's opacity from 0.25 to 0.85; when the player switches away from RGB, didUpdateWidget sees the changed activeFilter and stops the controller. No timers to leak, no per-frame work when nothing's animating.
The second field is sourceImage. Hotspots are authored against a specific image URL, so the visibleHotspots getter on the state filters them to whatever's currently displayed:
List<Hotspot> get visibleHotspots {
  if (hotspotsImageUrl != null && imageUrl != hotspotsImageUrl) return [];
  return hotspots.where((h) {
    if (h.sourceImage != null) return h.sourceImage == imageUrl;
    return !isDrilledDown;
  }).toList();
}
This is what lets the analyzer "drill down" — you enhance a face in a wide shot, that opens a tighter comparison frame, and a different set of hotspots (the GAN tells) becomes active because their sourceImage now matches the displayed image. The same data model handles a single photo, a multi-image gallery, a paused video frame, and this nested deepfake comparison without a single special-case branch.
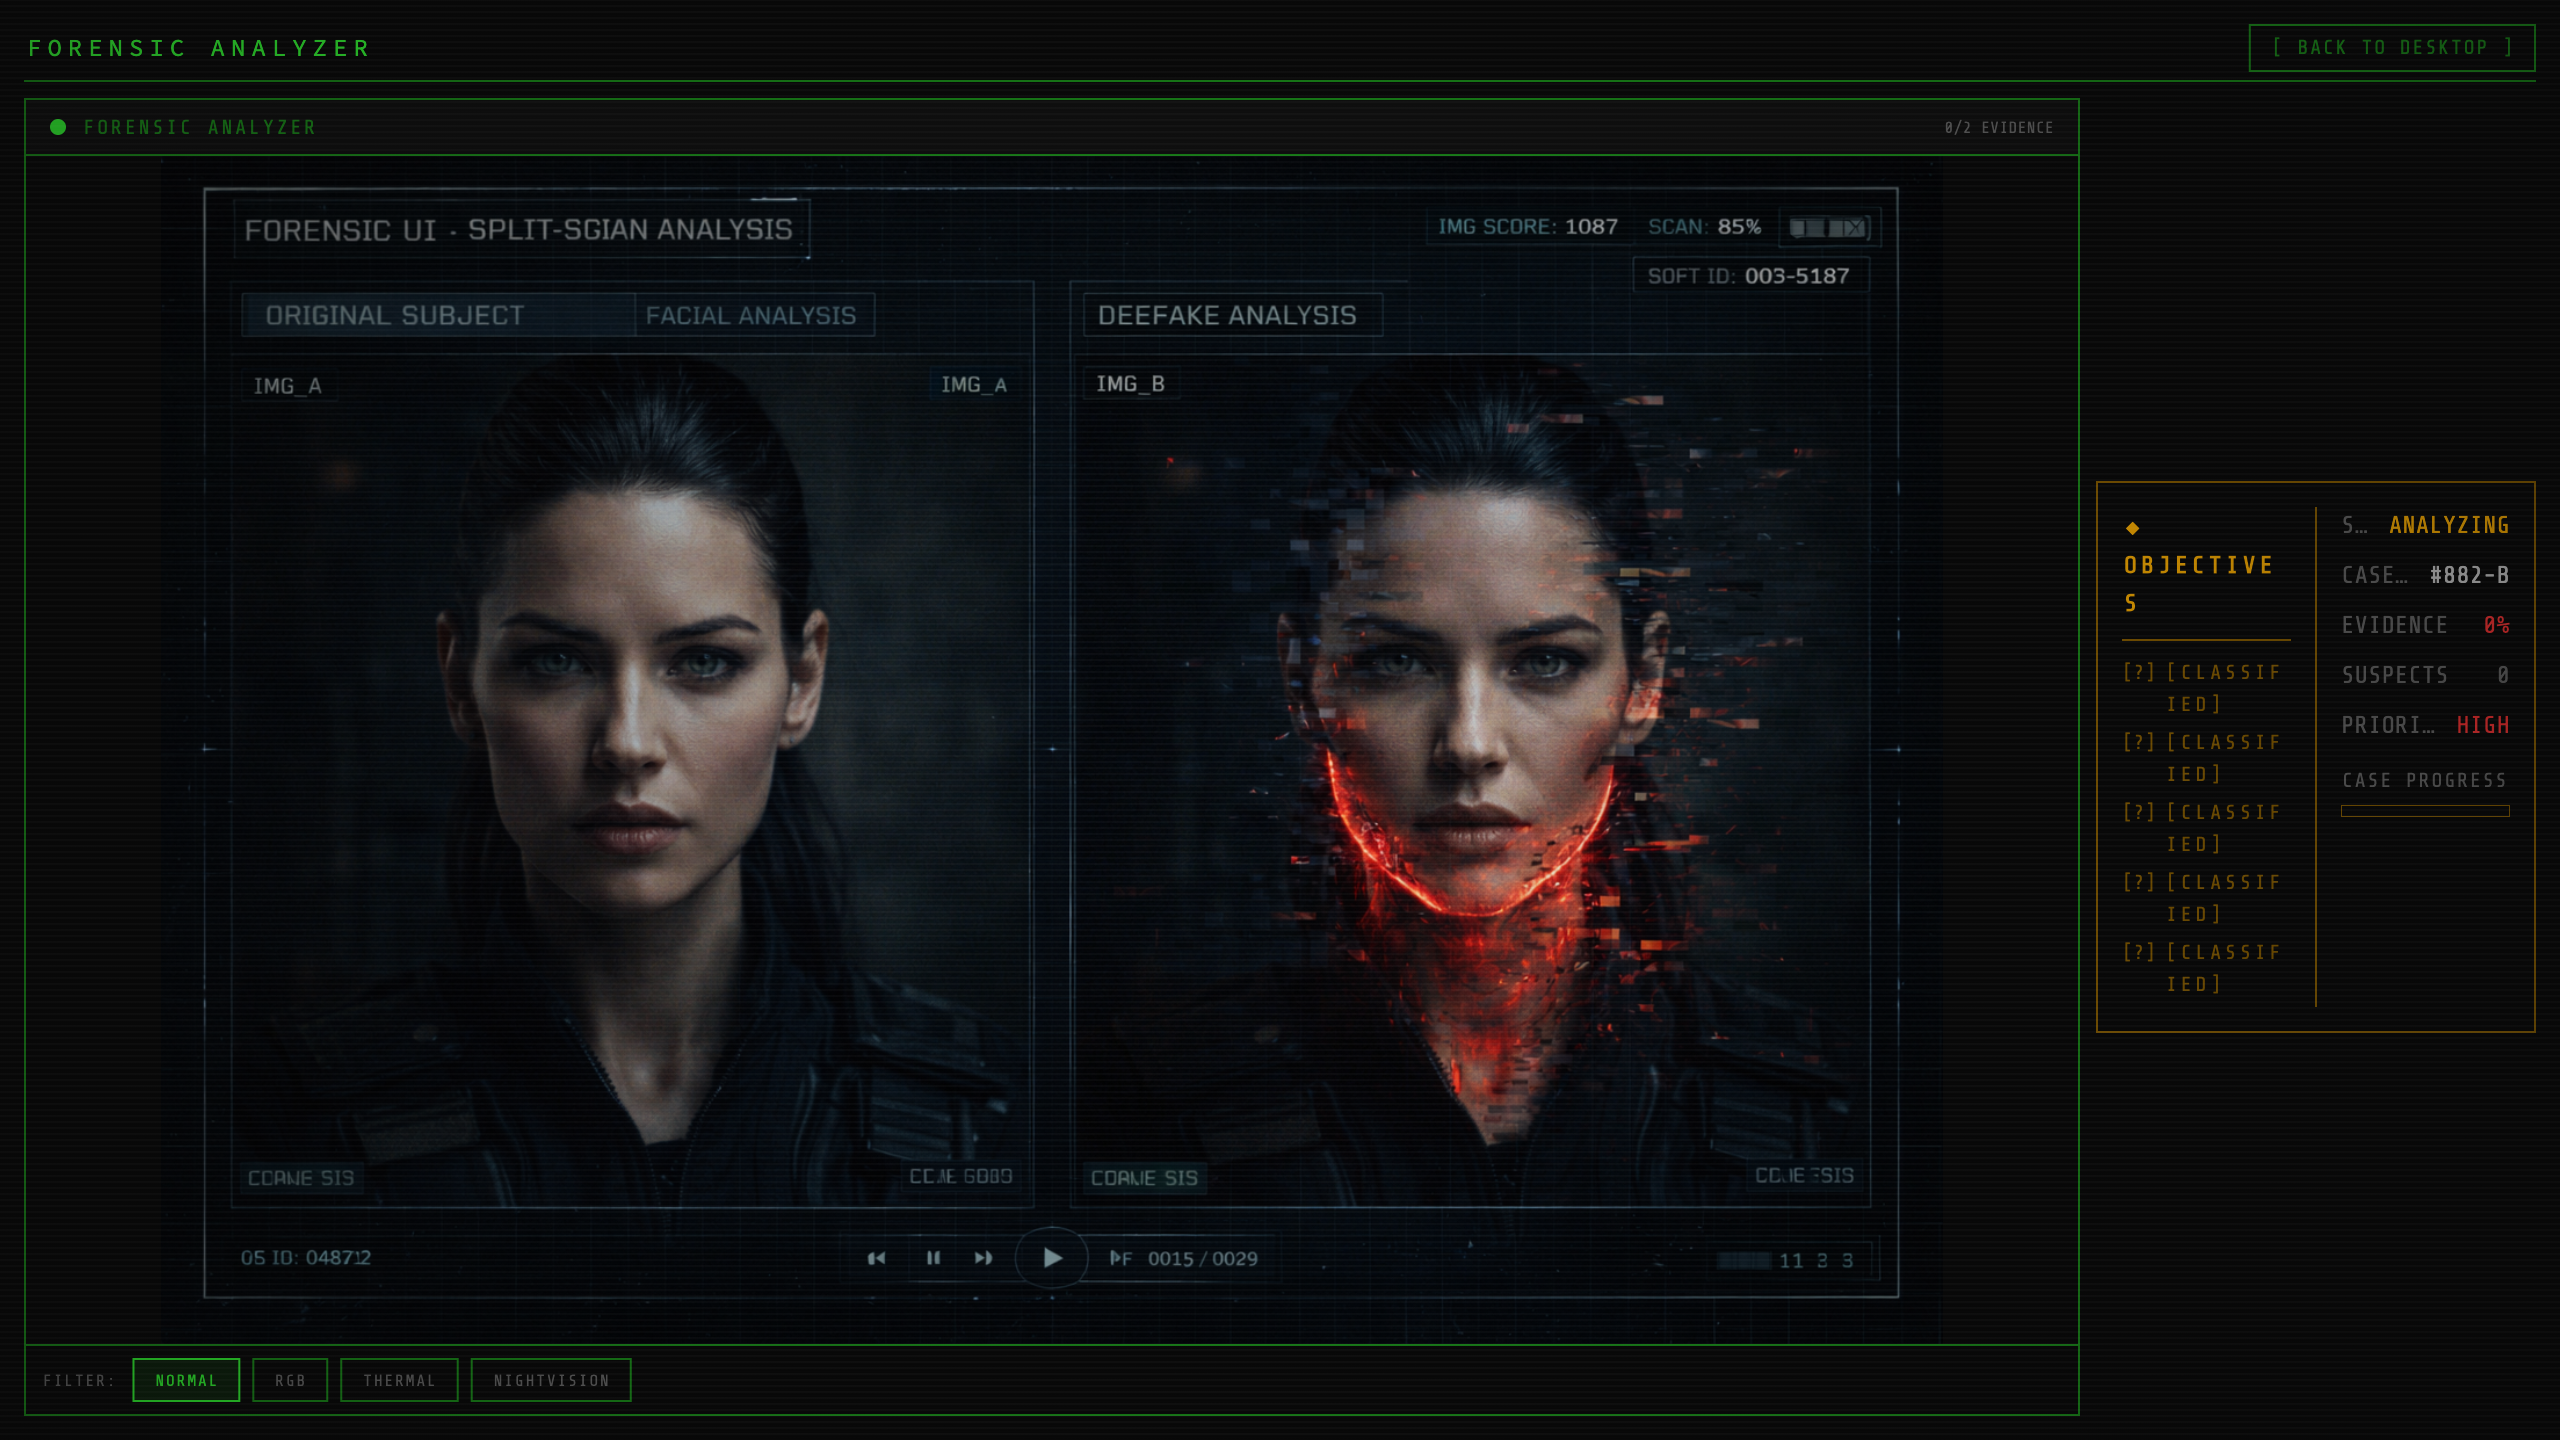
spoof_id command.What I'd flag if you're building something similar
Two things were worth more than they cost. First, leaning on Flutter's built-in ColorFilter.matrix instead of reaching for the shaders / fragment-shader path saved me an enormous amount of platform-specific grief — the matrices run identically on iOS, Android, macOS and Windows with zero conditional code, which matters when you're shipping one binary to five targets (more on that in Part 6). Second, making every forensic capability — filters, hotspots, drill-down, the deepfake hunt — a property of generic, JSON-authored data rather than bespoke widgets means new cases are written in a content file, not in Dart. I built the deepfake mission without touching the analyzer code once.
The honest caveat: a color matrix can't do anything spatial. No blur, no edge detection, no per-region warping — for those you genuinely do need a shader or ImageFilter. But for a detective game where the "analysis" is a narrative beat with a satisfying animation in front of it, three const matrices and a 30-line painter got me a forensic suite that feels far more expensive than it is.
The series
- Building a detective game in pure Flutter (no game engine)
- An in-game terminal with a real command parser
- A forensic image analyzer: enhance, thermal & deepfake detection
- Field Link: a data-driven branching dialogue engine
- A data-driven mission & narrative engine (21 missions)
- One codebase to iOS, Android, macOS, Windows & Steam
- The AI asset pipeline of a solo indie game
- Shipping a Flutter game solo: what worked, what I'd change
Case Analyst is a cyberpunk detective game where you investigate by typing real commands in a terminal — out on mobile, coming to Steam on October 29. Wishlist it on Steam, and follow for the next part.
Where to find Case Analyst
- Official site: case-analyst.com
- Steam (launches October 29 — wishlist now): store.steampowered.com
- iOS: App Store · Android: Google Play
- Follow: YouTube · Instagram · TikTok · Discord